

Kodi has a community like no other apps, which is the reason for its massive popularity. There is no better replacement found for Kodi ever since its launch. It was formally known as XBMC and developed for the Xbox media players. However, it was made available for multiple platforms like Android, Windows PC, Mac PC, Google Chromebook, etc. The article specially deals with Kodi for Chromebook, which helps you play TV shows, movies, photos, videos, and more other media contents.
Regardless of the Chromebook models, you can install Kodi to manage the media files most efficiently. The latest Chromebook models support Google Play Store and so the installation of Kodi is simple, just like the Android platform. However, others need to put some extra time and effort to install Kodi for Chrome OS. Need not worry as the article covers the best possible way in which you can install Kodi on Chromebook in detail.
3 Ways to Download and Install Kodi for Chromebook
Kodi can be installed on Chromebook within seconds. Three different ways are existing in which you can download Kodi for Chromebook. All of the methods involve simple steps, and you will not be dealing with any complex procedure.
Method 1: Steps to Download Kodi for Chromebook using Google Play Store
Kodi is accessible on the certain Chromebooks directly with the native support of the Google Play Store. Therefore, such users can install Kodi app on Chromebook directly on following the steps given below.
Step 1: Launch the Google Play Store on your Chromebook at first.
Step 2: Use the search bar on the home screen of the Google Play Store to type in as Kodi. After that, press the enter button to start searching for it.
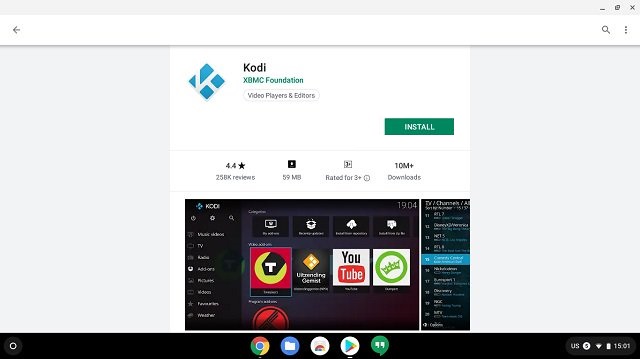
Step 3: Now, you should choose the Kodi app from the list of suggested apps shown.
Step 4: Click on the Install button on the app information screen of Kodi to download it.
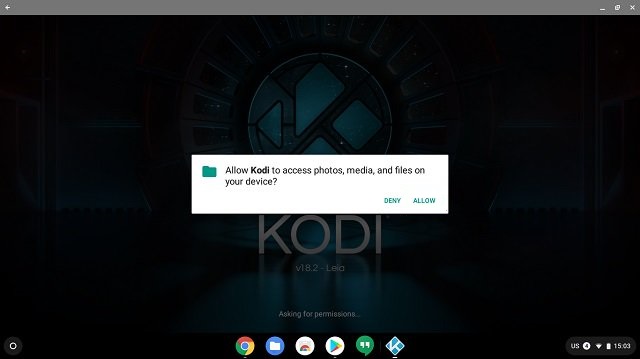
Step 5: When Kodi prompts you with the list of permissions, then you should click on the Allow button.
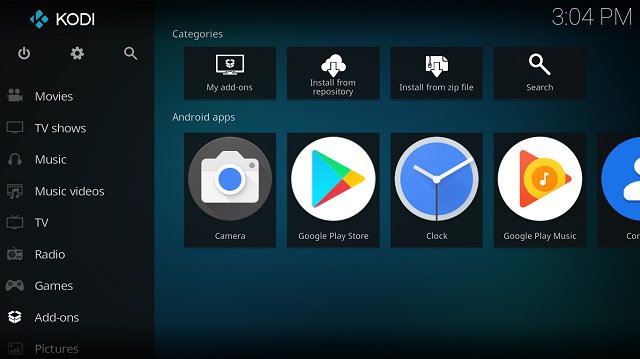
Step 6: Wait till Kodi complete its downloading process. Lastly, click on the Open button to start using Kodi Chromebook App.
Method 2: Steps to Download Kodi for Chromebook using Kodi Extension
Installing Kodi as a Chrome extension is recommended for those Chromebook users who don’t have an official Google Play Store support. Moreover, this method is a time-consuming process, and you can follow the steps given below to download Kodi on Chromebook.
Step 1: Download the Kodi apk file from its official website (www.kodi.tv/download)
Step 2: Open the Chrome web browser on your Chromebook.
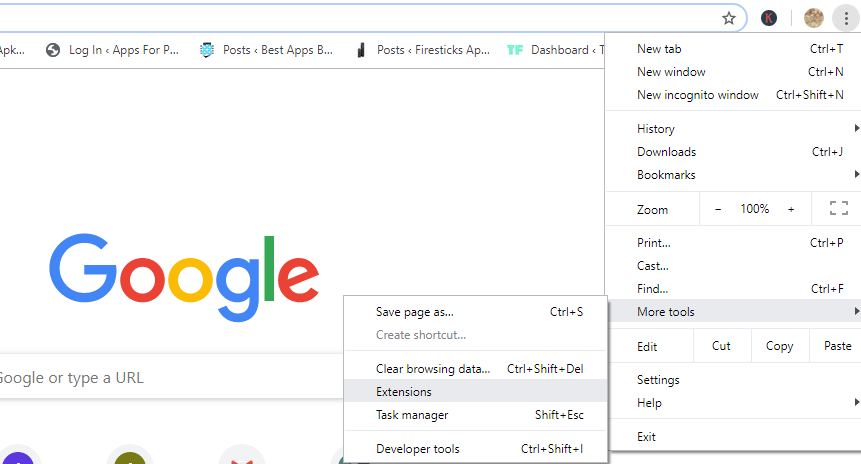
Step 3: Now make a tap on the Menu icon or three vertical dots located at the top-right corner of the Chrome browser.
Step 4: Choose More Tools from the list of options. After that, click on Extensions.
Step 5: On the Extensions tab, tap the Load unpacked button present at the top-left corner.
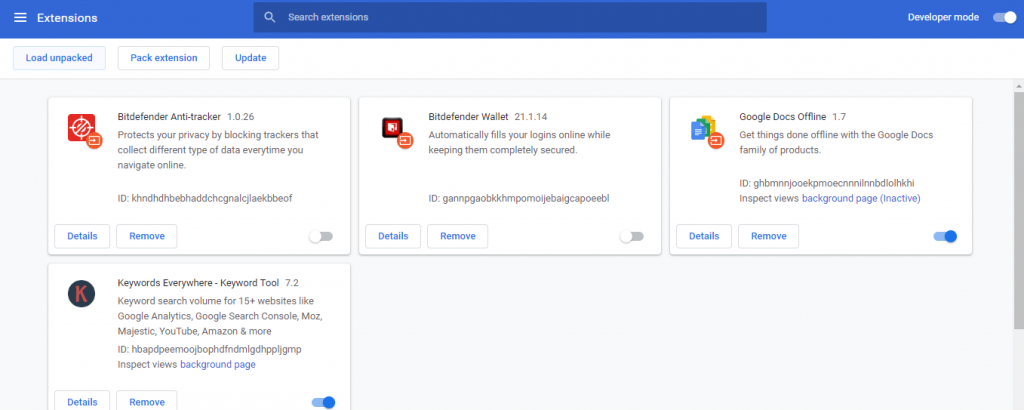
Note: If you don’t find Load unpacked button, then just tap on the Developer mode slider on top-right to turn on.
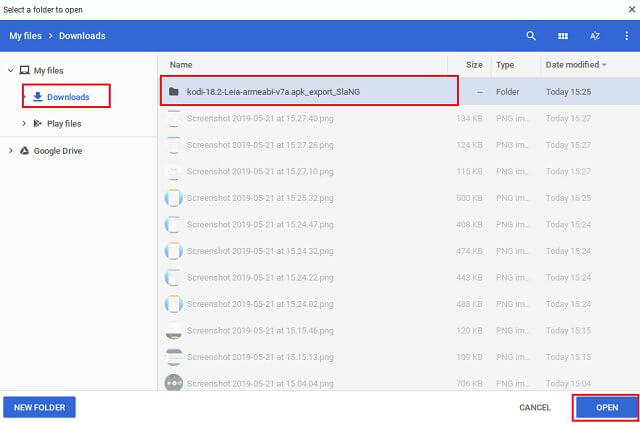
Step 6: On the next screen, you should locate the Apk file directory to choose a folder in which the Kodi apk file is stored.
Step 7: Click the Open button at the bottom of the screen. With this, Chromebook will create a Kodi extension. You can use it from the App drawer.
Method 3: Steps to Download Kodi for Chromebook using ARC Welder
By using the ARC Welder web extension, you can install Kodi on Chromebook that doesn’t have Google Play Store. The steps below will help you out with the same.
Step 1: Firstly, you should download the latest version of Kodi apk from the official web page of Kodi (www.kodi.tv/download)
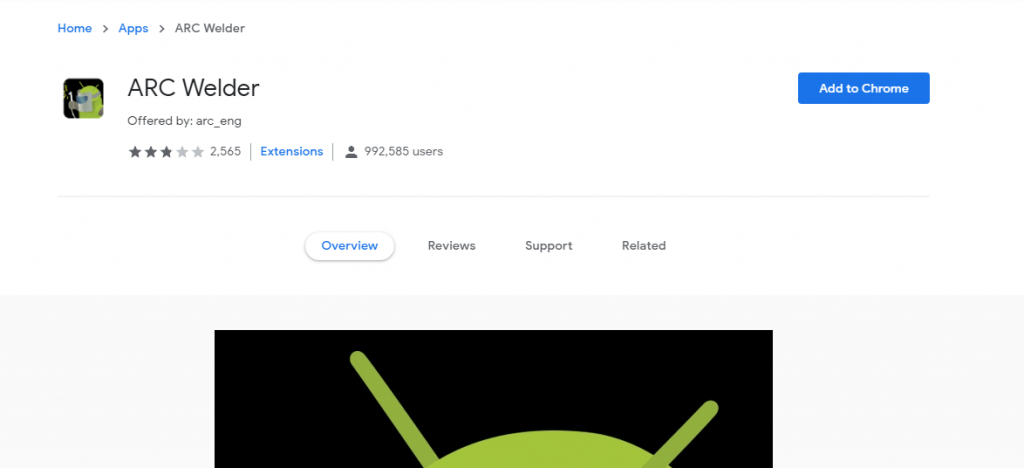
Step 2: After that, you should open the Chrome Web Store and install ARC Welder by clicking on Add to Chrome tab.
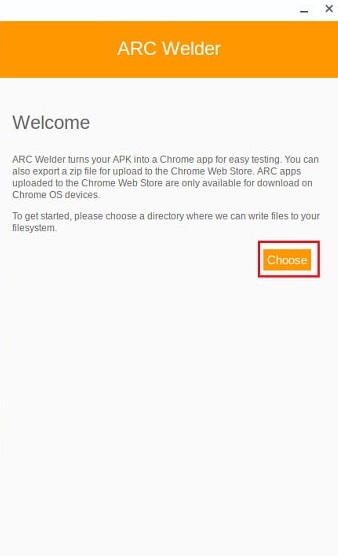
Step 3: With this, you should open ARC Welder on your Chromebook. You can find it by clicking on the Apps section of the Chrome browser.
Step 4: Further, you should make a tap on the Choose button on the Welcome screen of the ARC Welder extension.
Step 5: Now, you should click on the plus icon (+) that reads Add your Apk.
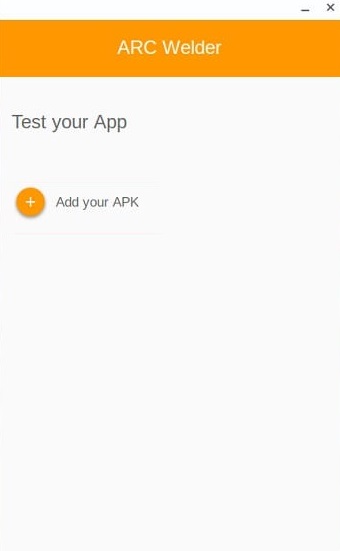
Step 6: On the next screen, choose the Kodi Apk file by locating it on your Chromebook.
Step 7: Finally, Kodi file will be loaded on ARC Welder and click on the Test button.

That’s it. Kodi will launch automatically on your Chromebook, and you can access its features.
Kodi for Chromebook Alternatives


Kodi is also available for
- How to Install Kodi on Kindle Fire Tablet [Easy Method]
- How to Install Kodi on Android TV/Box [Guide 2022]
- How to Install Kodi on WebOS LG Smart TV [2022]
- How to install Kodi for MINIX [100% Working]
- Kodi for iOS – iPhone/iPad Download [New Version]
- Kodi for Linux / Ubuntu: How to Download and Install
- Kodi for Android Phone/ Tablet Download [New Version]
- Kodi for PS4 and PS3 [Best Streaming Alternatives]
- Kodi for PC/ Laptop Windows XP,7,8/8.1,10 – 32/64 bit
- How to Install Kodi on Nvidia Shield TV 2022
To Conclude
Kodi is the most efficient media center available where the Chromebook users can manage and access the digital contents efficiently.
Hope the article has helped you easily download and install Kodi for Chromebook. If you have any queries about this article, then drop us a comment.