

BlueStacks is an Android app player that will let you download and install any Android app on your PC. It is available as downloadable software for both Windows and Mac platform. BlueStacks will virtualize an Android OS so that you can access the Google Play Store and more than 1.4 million apps available in it. It is an emulator that is found to work 6x faster than the mobile device. So if you want to use any mobile app on PC, you have to install BlueStacks for PC/Mac and run them without any compatibility issues instantly. BlueStacks is an all-in-one tool that lets you experience much faster gaming performance. As BlueStacks is a multi-platform app, you can head into the respective sections to install BlueStacks Android Emulator for PC Windows and Mac.
Steps to Download and Install BlueStacks for PC Windows XP/7/8/10
BlueStacks is the free Android Emulator that can be used to run any Android apps and games on Windows PC. Follow the steps given below to download BlueStacks for PC Windows.
System Requirement:
- Windows PC running with Windows XP, 7, 8/8.1, 10
- Intel or AMD Processor
- At least 2GB of RAM/main memory
- Must have 5GB of disk space
- Updated Graphic Drivers
- Must have Administrator rights
- An active internet connection
Step 1: Open the web browser on your Windows PC, go to the official web page of BlueStacks (www.bluestacks.com).
Step 2: On the official web page of BlueStacks, you have to click on the Download BlueStacks button.

Step 3: With this, bluestacks.exe file will be downloaded. Click on it to open BlueStacks on Windows PC.
Step 4: You will get a security warning pop-up and you have to click on the Run option.

Step 5: BlueStacks will extract and you should grant administrative privilege to run BlueStacks on Windows PC.
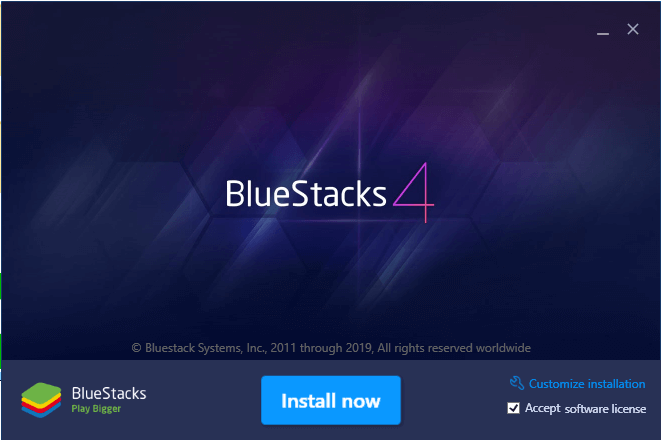
Step 6: Click on Install now button to proceed with the installation of BlueStacks on PC.
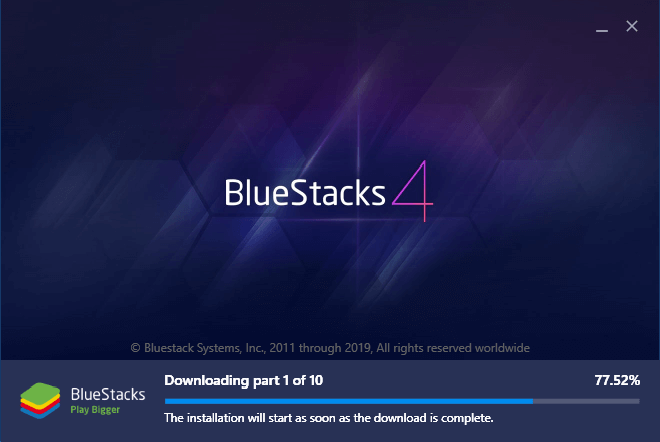
Step 7: It will start downloading the files and you have to wait for few minutes.
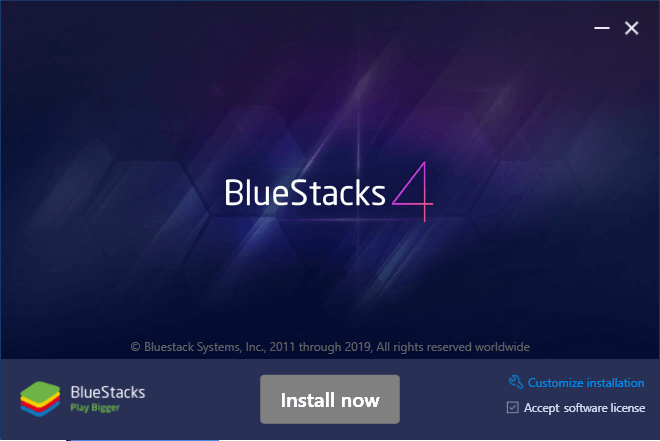
Step 8: Click on the Install Now button again to start installing the BlueStacks app player on PC.
Step 9: When the installation gets completed, you have to click on Complete button.
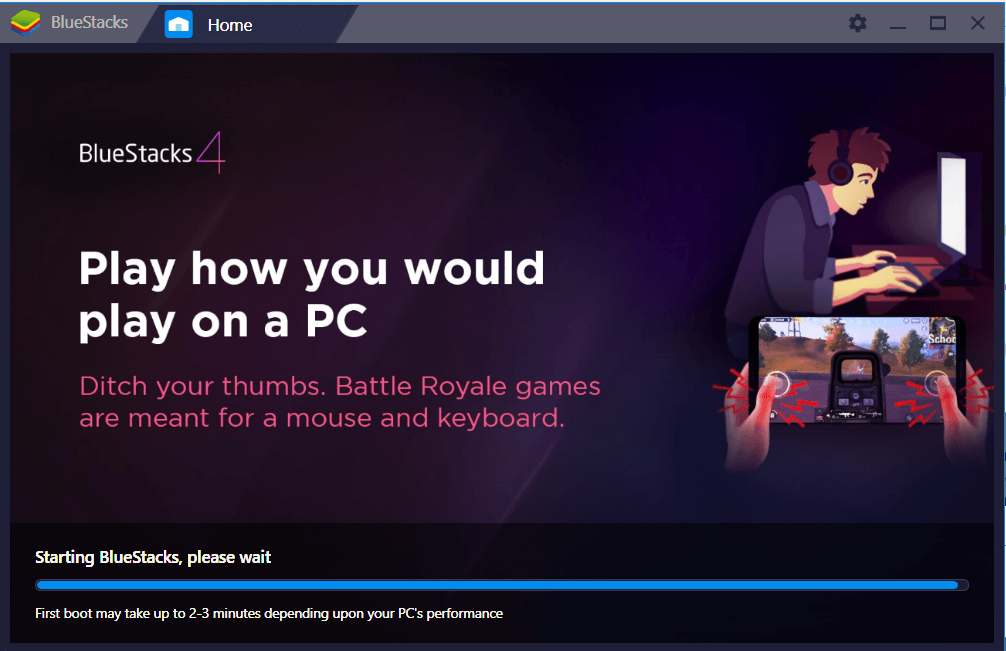
Step 10: If your PC is booting up for the first time, then it may take some time based on the performance of your desktop.
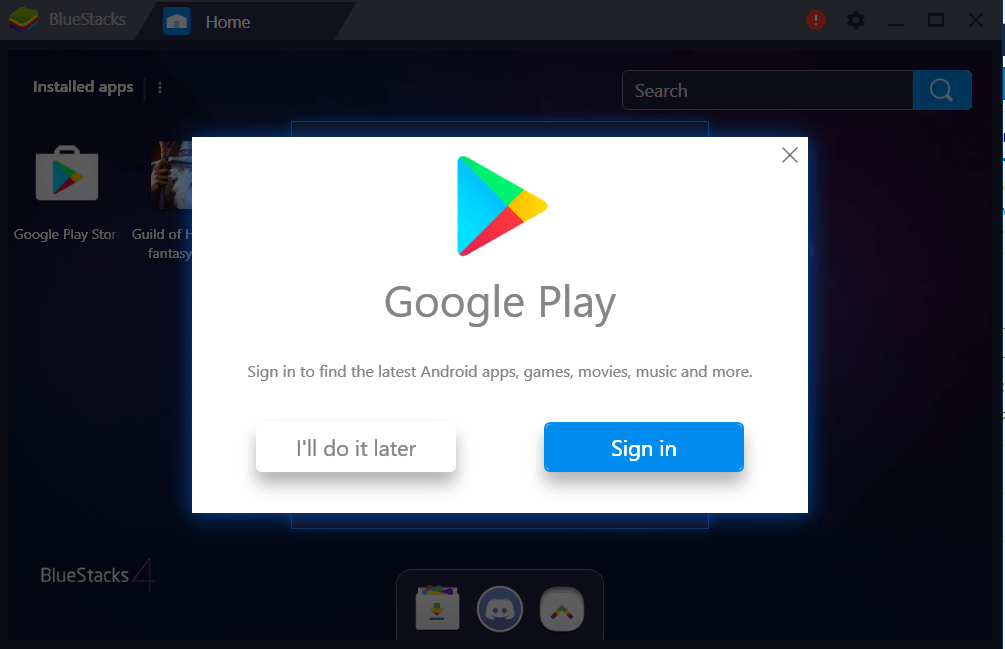
Step 11: You will be taken to the page in which you have to provide your Email id/phone or create an account.
Step 12: Click on Sign in button to access Google Play on BlueStacks. You have to click again on Sign in button.
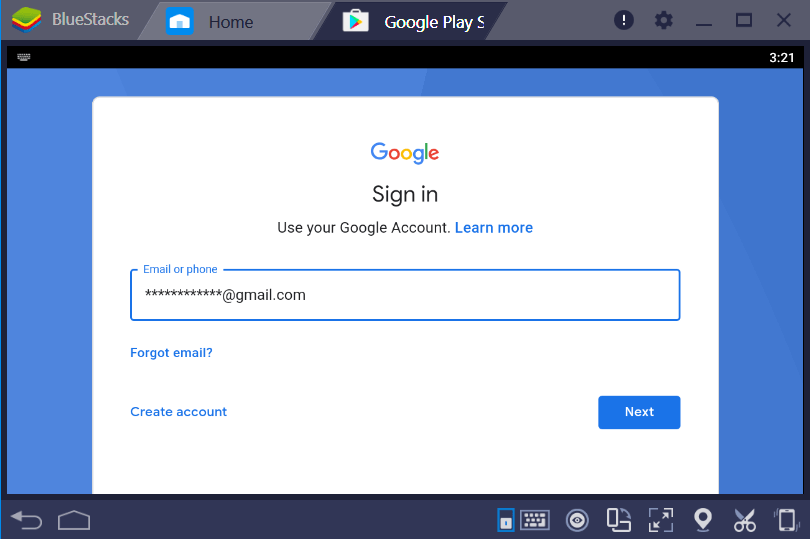
Step 13: Provide your email id and click on the Next button to proceed further.
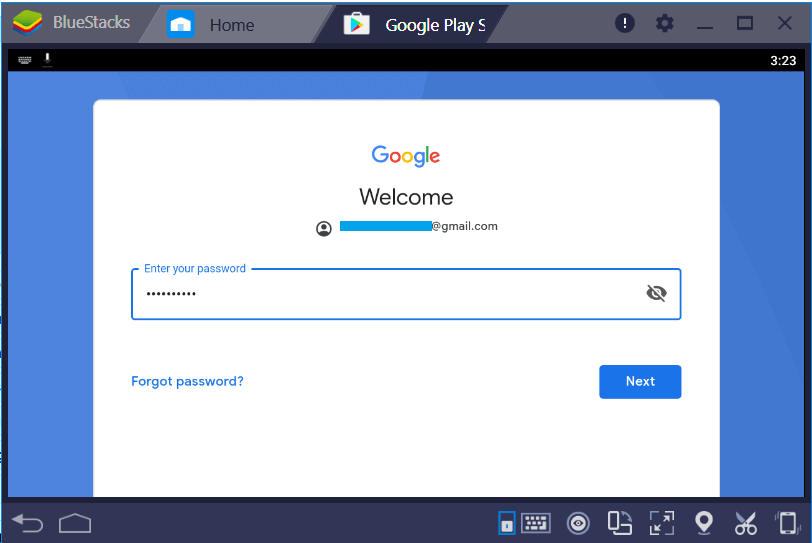
Step 14: You have to provide your password and click Next button.
Step 15: Click on I agree button to accept the terms and conditions of BlueStacks.
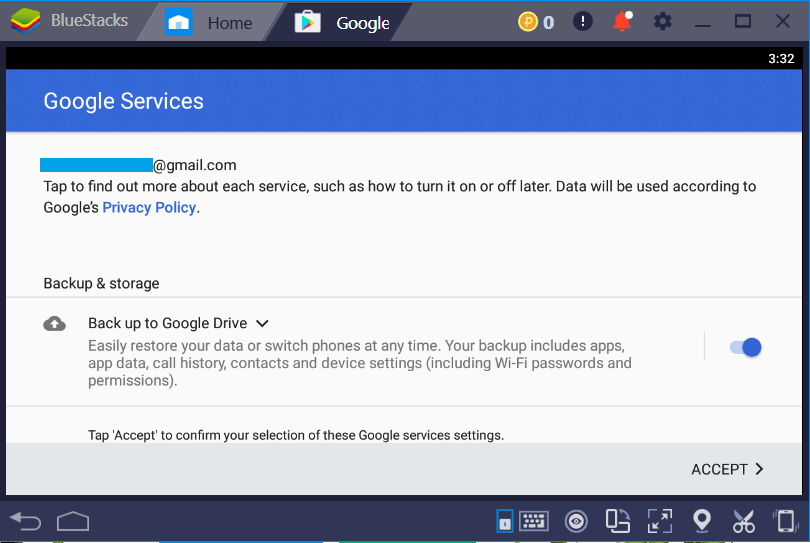
Step 16: You should then click on Accept button to grant permission to Google services settings.
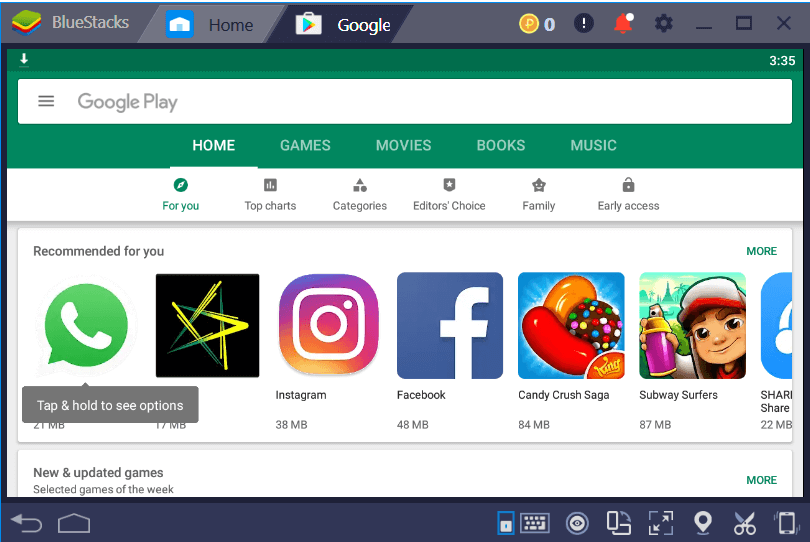
Step 17: With this, Google Play Store will load on your Windows PC and you can start using BlueStacks to download any Android apps for your PC.
Upon following the steps given above, you will be able to install BlueStacks on PC Windows.
Steps to Download and Install BlueStacks for Mac
Mac users can also install BlueStacks to download and install any Android apps. You have to follow the procedure given in the below section as to download BlueStacks for Mac PC.
System Requirement:
- Mac PC with Mac OS Sierra(10.12), High Sierra(10.13), Mojave(10.14)
- Must have 4GB of RAM
- 4GB of Disk Space
- Updated Graphics Drivers
- Must have the Administrator rights
Step 1: You have to open the web browser on your Mac. Go to the official webpage of BlueStacks (www.bluestacks.com)
Step 2: Click on Download BlueStacks for Mac button to start downloading the BlueStacksInstaller.dmg file.
Step 3: When it completes the downloading process, you should locate the dmg file on your Mac PC and double-click on it.
Alternative: You can simply drag the dmg file into the Application folder and with this BlueStacks will start its installation on your Mac PC.
Step 4: Now, you have to click on the BlueStacks app player on your Mac. With this, the emulator will be verified.
Step 5: Click on Open button from the pop-up message to open it.
Step 6: Wait for the BlueStacks player to get loaded on your Mac PC. Click on Install button.
Step 7: Click again on the Install button when BlueStacks prompts you with App Store Access and App communication.
Step 8: You have to now click on Continue option to further proceed with the installation of BlueStacks on Mac PC.
Step 9: Enter your username and password when BlueStacks prompts you with installing a helper tool.
Step 10: Wait for the BlueStacks to boot on your Mac PC. It may take few minutes.
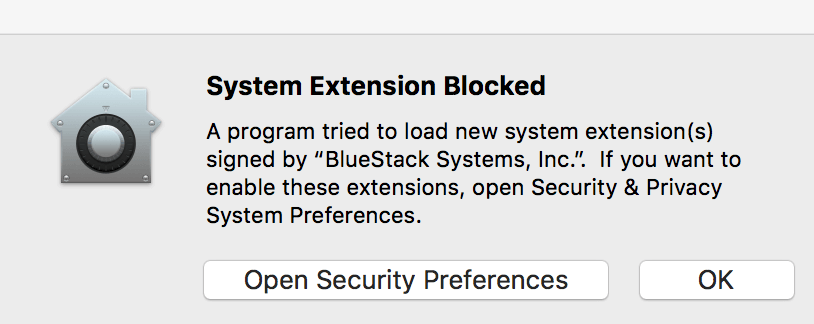
Step 11: You will get System Extension Blocked popup option on your Mac screen. Click on Open Security Preferences option.
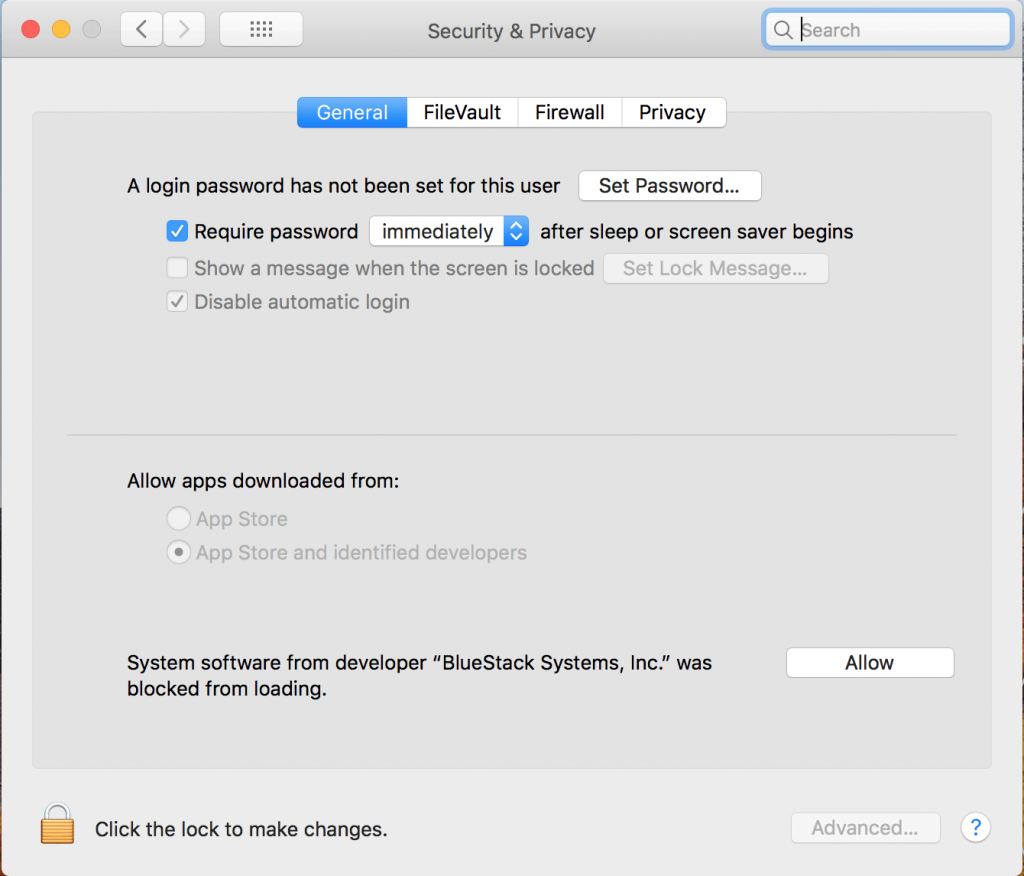
Step 12: With this, Security & Privacy pop-up will open up and you have to click on Allow option at the bottom.
With this, you can access BlueStacks on Mac PC and thereby install any Android apps.
Alternatives

Hope the article is useful to you in dealing with the steps to install BlueStacks for PC Windows and Mac.