There is no wonder if any smartphone users wanted to access the Android platform on their PC. It is so as the Android emulators out there in the market has made installing any Android apps on PC a possible thing. With the help of the Android emulators, downloading and installing any Android games or apps on the desktop seems to be simpler. Of all others, the article has listed the three best and most popularly used Android emulators for PC with which you can install any Android apps. They are BlueStacks, Nox Player, and Andyroid that supports installing any Android apps on the Windows or Mac PC.
However, there are few apps that can be installed on the Mac or Windows PC directly. It is because those apps will have an official version for the desktop platform. Installing an app for the desktop PC from the official website is a straightforward method. You can just follow the article to get the guideline on how to install Android apps on Mac/PC with or without the emulators. With this, you can easily play any Android games or access any Android apps on your Windows or Mac PC screen in a more convenient way.
Different Methods to install apps on PC/Mac
In this guide, you will learn how to install the Android app on Windows and Mac computer with/without Playstore.
The app can be installed on Windows xp, Windows vista, Windows 7, Windows 8, Windows 8.1 and Windows 10.
The app works fine on iMac, iMac Pro, MacBook, MacBook Air and MacBook Pro.
1. How to Install Apps on PC – Direct Method
2. How to Install Android Apps on PC Windows/ Mac using BlueStacks Emulator
- Steps to Install Apps from Play Store using BlueStacks
- Steps to Install Any Apps using BlueStacks without Play Store
3. How to Install Android Apps on PC Windows/ Mac using Nox App Player
- Steps to Install Any Apps from Play Store using Nox Player
- Steps to Install Apps on Nox Player without Play Store
4. How to Install Android Apps on PC Windows/ Mac Using Andyroid
- Steps to Install Any Apps from Play Store using Andyroid
- Steps to Install Any Apps on Andyroid Without Play Store
How to Install Apps on PC – Direct Method
There is a way possible to install any apps on the Mac or Windows PC without the help of the emulator. However, it can be done only if there is official support given by the app developer. Just follow the steps given below to install any apps on PC directly.
Step 1: On your web browser, you have to type in the name of any app on the address bar and click on the search icon. For ex, Viber.
Step 2: You should open the official web page of any app (Viber) from the search result. (www.viber.com)
Step 3: When it opens up, you have to look for the download link based on your operating system.
For ex, you should click on Download Viber for Windows if you are using Windows PC or click on Download Viber for Mac if you are using Mac OS.
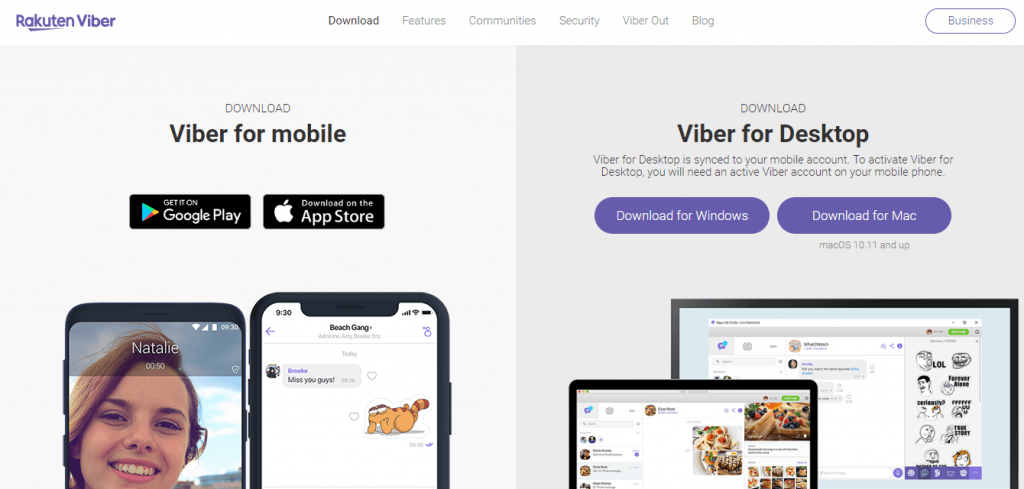
Note: Download .EXE file of any app if you are using Windows PC and .dmg file if you are using Mac PC.
Step 4: Wait for the app to complete its downloading process on your PC. When it is done, you have to double click on the file that you have downloaded to start its installation.
How to Install Android Apps on PC Windows/ Mac using BlueStacks Emulator
Installing and accessing the Android apps on PC is made easy as with the help of BlueStacks app player. Android apps are available both as officially and as third-party apk file. So you can use BlueStacks emulator to install any of them on the PC. Follow the respective section to install Android Apps using the BlueStacks app player.
Method 1: Steps to Install Apps from Play Store using BlueStacks
If you are installing Android apps that are available on the Play Store on your PC/Mac using BlueStacks, then follow the steps below.
Steps 1: You have to double-click on the BlueStacks app player that you have installed to open it on your Windows or Mac PC.
Click here for Steps to Install Bluestacks for PC Windows/ Mac
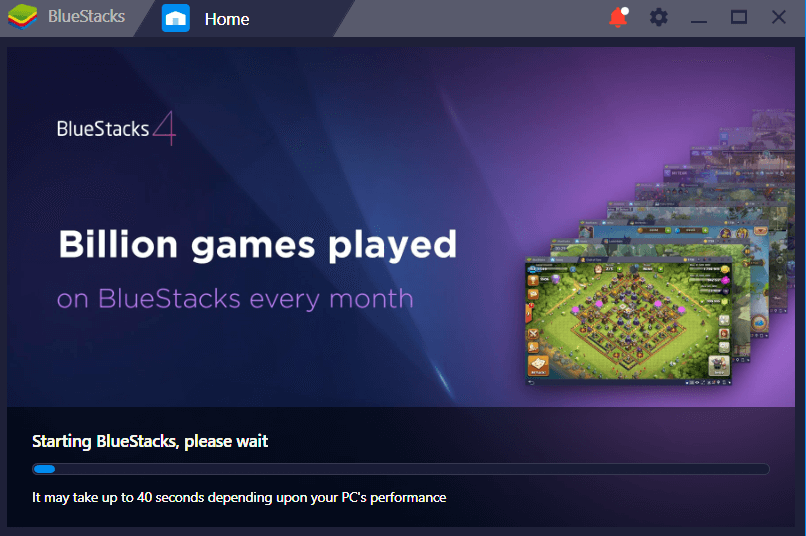
Step 2: BlueStacks emulator will load on your PC. Wait for BlueStacks to start on your PC.
Step 3: On the home screen of BlueStacks, you have to double-click on the Google Play Store icon.
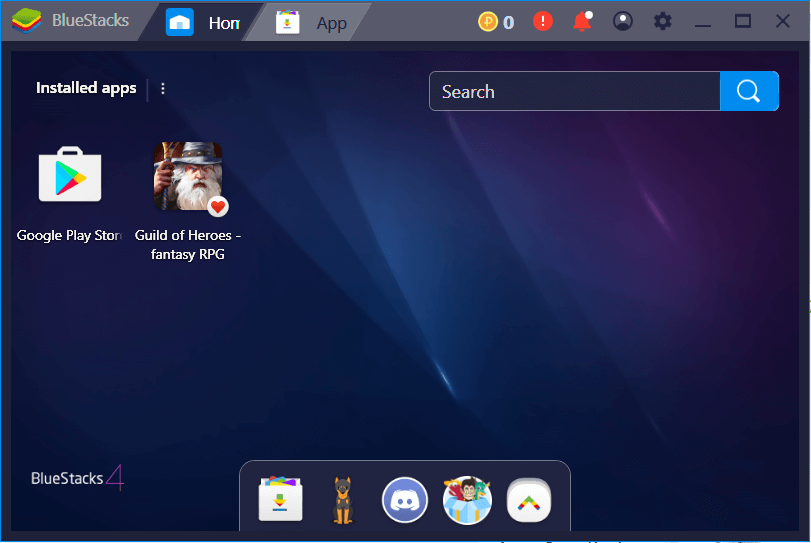
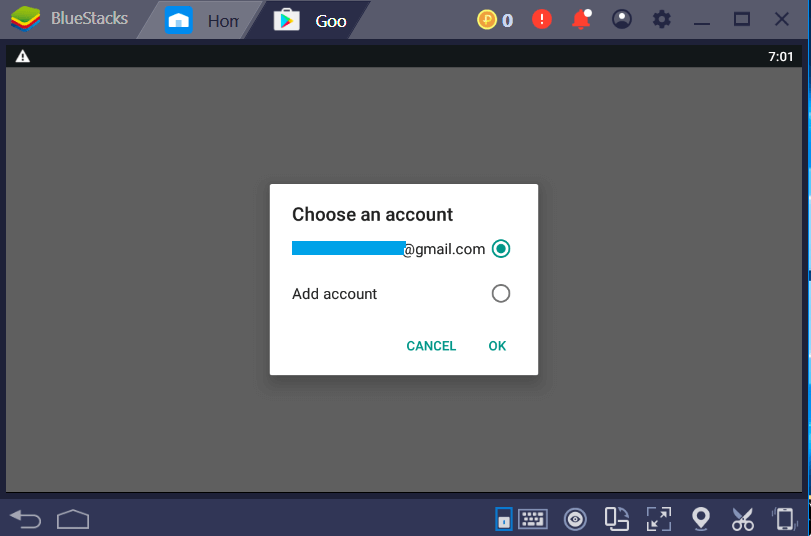
Step 4 (a): When Play Store gets loaded, you have to click on your existing Gmail id and click on OK button.
or
Step 4 (b): Click on Add Account to use another Gmail account. Click on OK button.
Step 5: When BlueStacks prompts you, enter the Gmail id to login with the Play Store. Click on Next button. Else skip to Step 7.
Step 6: Enter your Google account password on the next screen and click on the Next button.
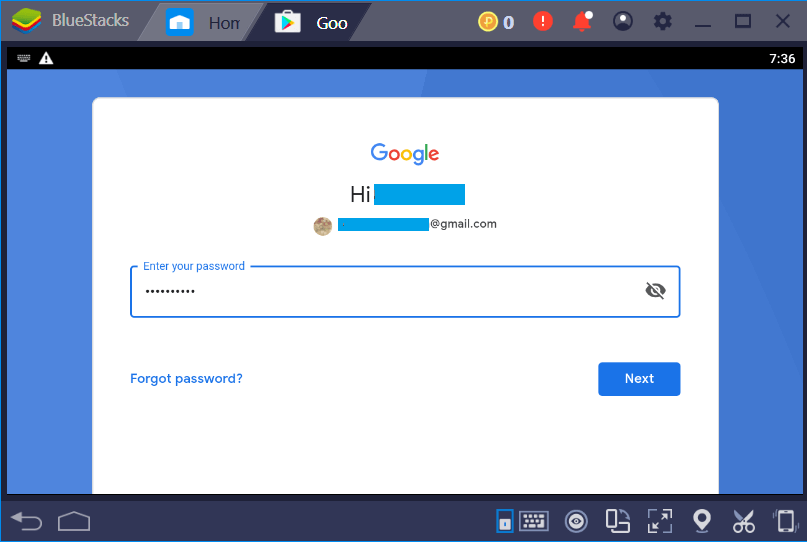
Step 7: Play Store will load on your Windows PC and you have to click on the search bar on the home screen of Play Store.
Step 8: Type in the name of any app on the search bar to download. Say Candy Crush Soda Saga for example.
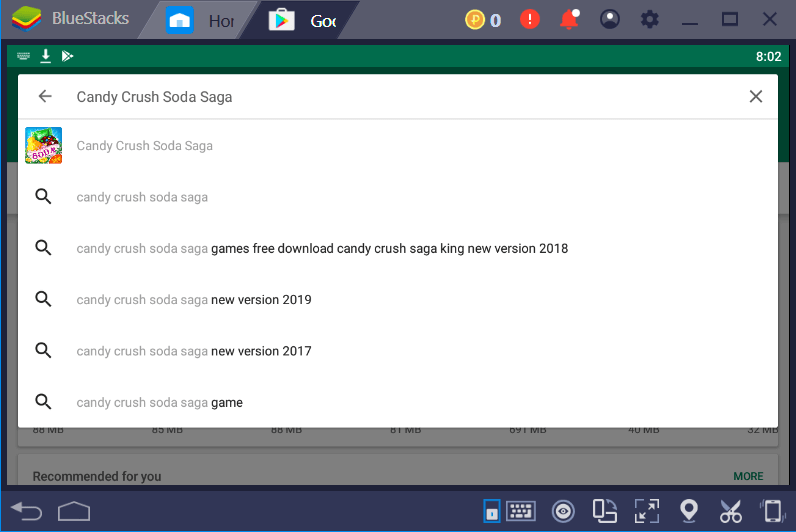
Step 9: A list of suggestions will be shown when you type and you should identify the logo of the app and make a click on it.
Step 10: Click on the Install button to start installing any app (Candy Crush) on your PC or Mac.
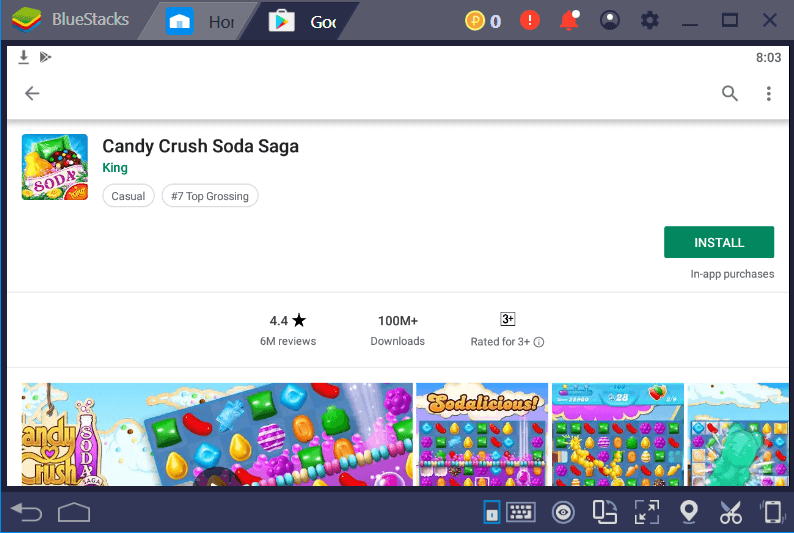
Step 11: Click on the Accept button when the app prompts you with the list of permissions.
Step 12: Wait for the Candy Crush Soda Saga to complete its downloading process. Click on Open button.
That’s it. By following these steps, you can install any apps on PC/Mac using BlueStacks.
Method 2: Steps to Install Any Apps using BlueStacks without Play Store
There are many Android apps that aren’t available officially on Play Store. However, such apps can be downloaded as an apk file from third-party websites. Any apk file can be installed on PC with the help of BlueStacks app player. You can get into the section below to install Android apps on Windows PC/Mac using BlueStacks without Play Store.
Step 1: Open the web browser, click on the address bar to type in the name of any app followed by apk. Say F-Droid Apk.
Step 2: Open the official or any third-party website from the search result. Click on the Download button to start downloading the respective apk file.
Click here for Steps to Install Bluestacks for PC Windows/ Mac
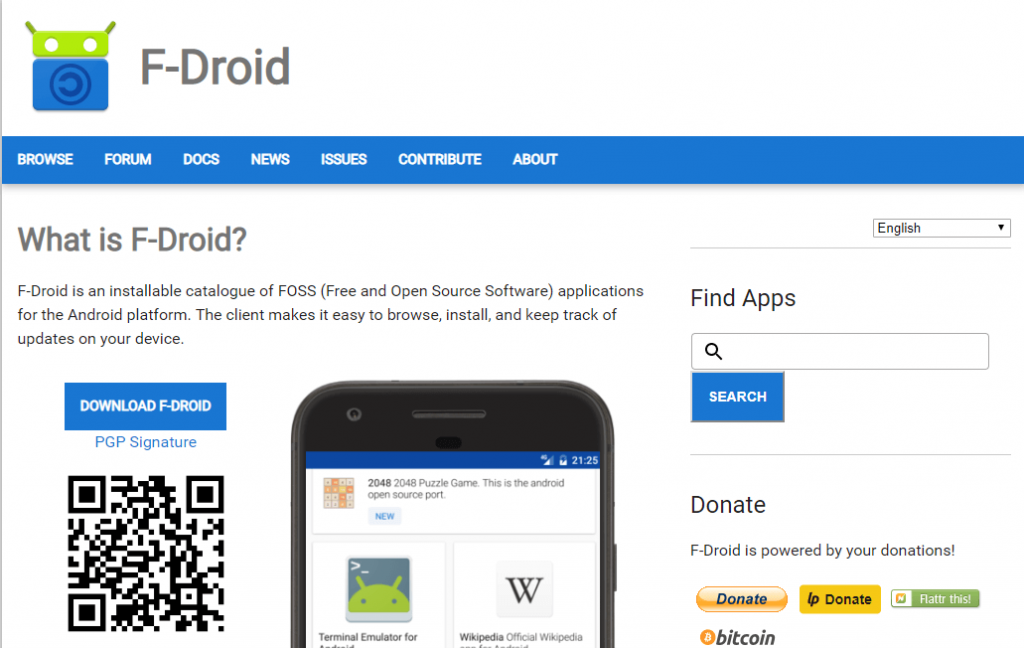
Step 3: Wait for the F-Droid apk to complete its downloading process. Just drag and drop the apk file on to the BlueStacks emulator.
Alternative: Locate the apk file and right click on it to select Open with BlueStacks Installer option.
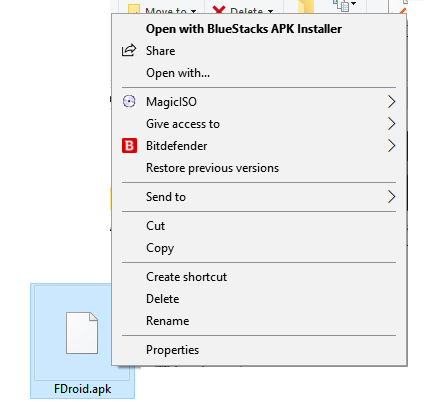
Step 4: Within a few seconds, any apk (F-Droid) will be installed on your PC with the help of the BlueStacks.

Step 5: Double-click on the apk (F-Droid) file on BlueStacks to open it on your Windows or Mac PC.
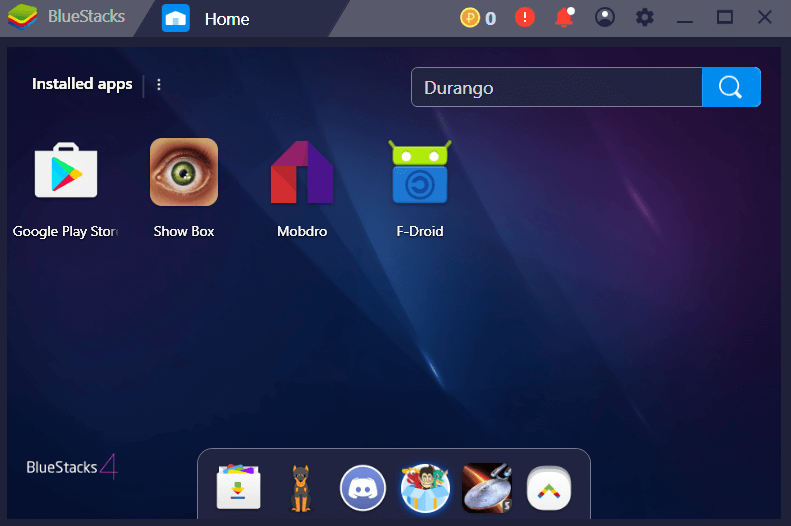
Step 6: Click on Allow option on the home screen of any app (F-Droid) to accept the end user agreement.
Step 7: With this, you will be taken to the home screen of any app (F-Droid) and you can navigate to access all its features with ease.
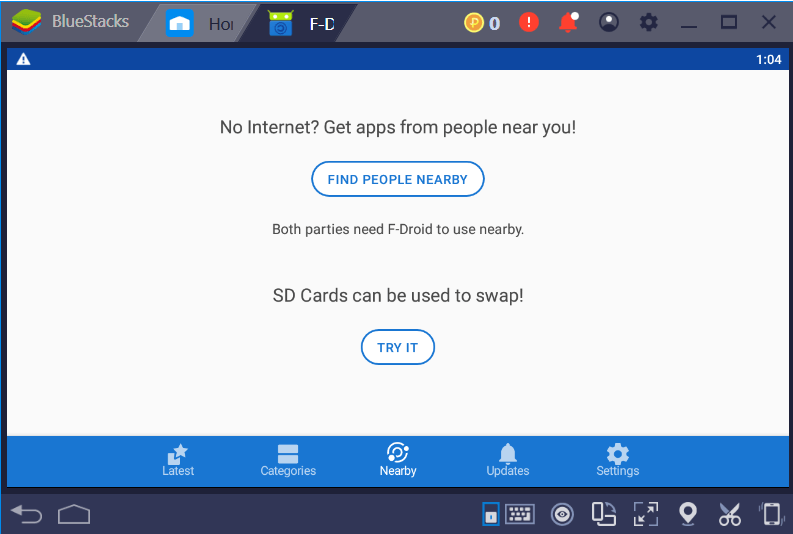
Installing any App on PC/Mac using BlueStacks player is this simple. You can follow the same procedure to install any apps from Play Store or without Play Store.
How to Install Android Apps on PC Windows/ Mac using Nox App Player
You can install any Android apps and games by using the Nox Player on PC. Since Android apps are officially available on Play Store and as an apk file, you can install either of them using Nox Player. Get into the respective section to install any Android apps by Nox Player.
Method 1: Steps to Install Any Apps from Play Store using Nox Player
If you are installing Android apps from Play Store by using Nox Player, then the steps below would help you out.
Click here for Steps to Install Nox App Player for PC Windows/ Mac
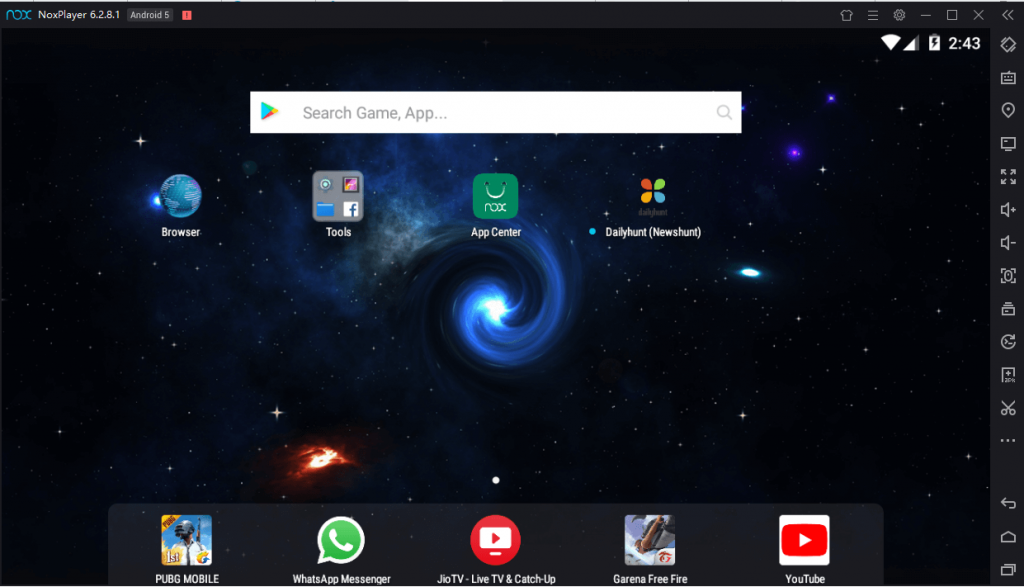
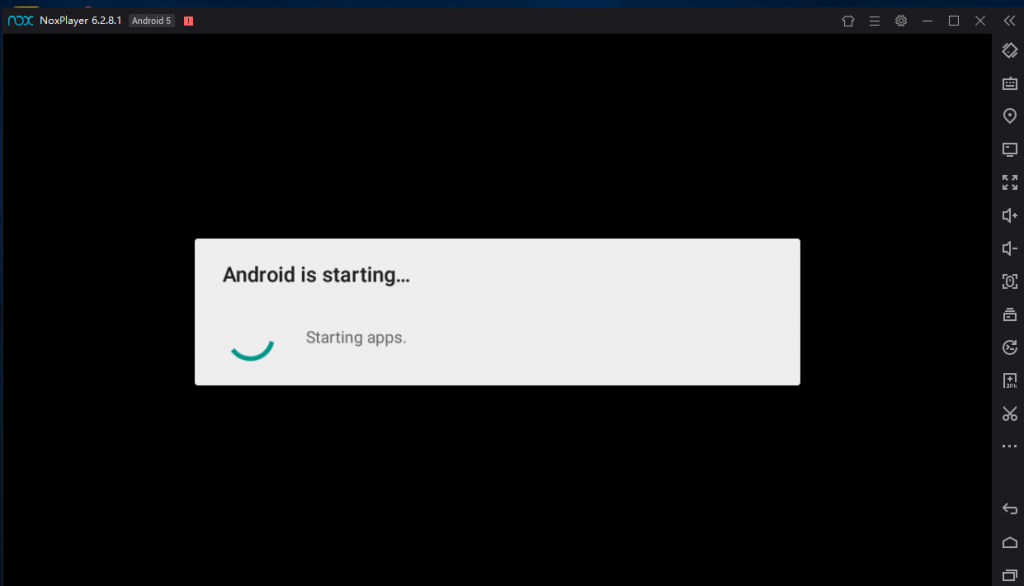
Step 1: Click on the Nox Player on your PC to open it and access all its features. You will see the Play Store installed on the emulator by default.
Step 2: You need to click on the Nox App Center icon from the home screen of Nox Player.
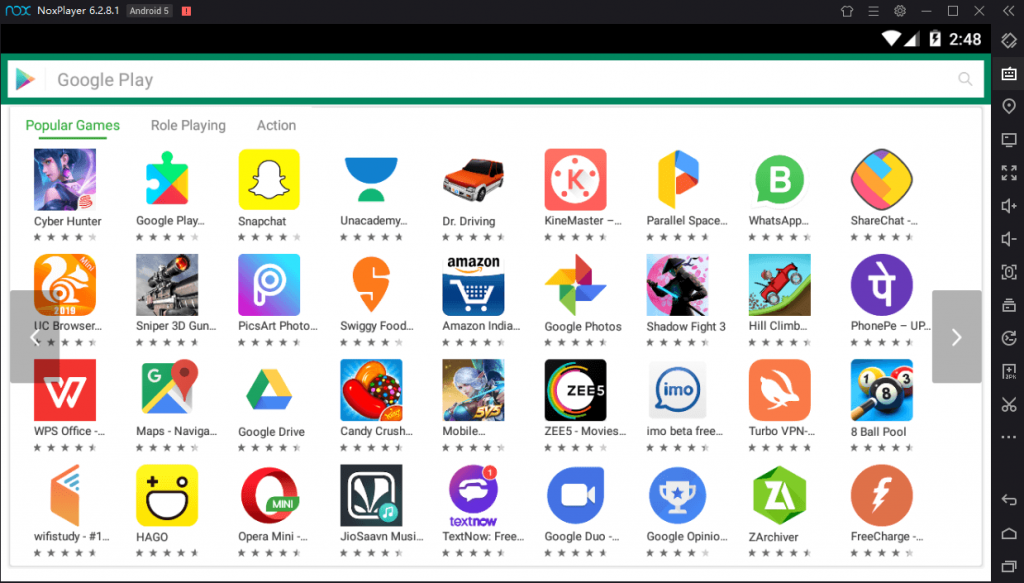
Step 3: Google Play Store will start loading on the Nox Player and you will see the list of Android apps.
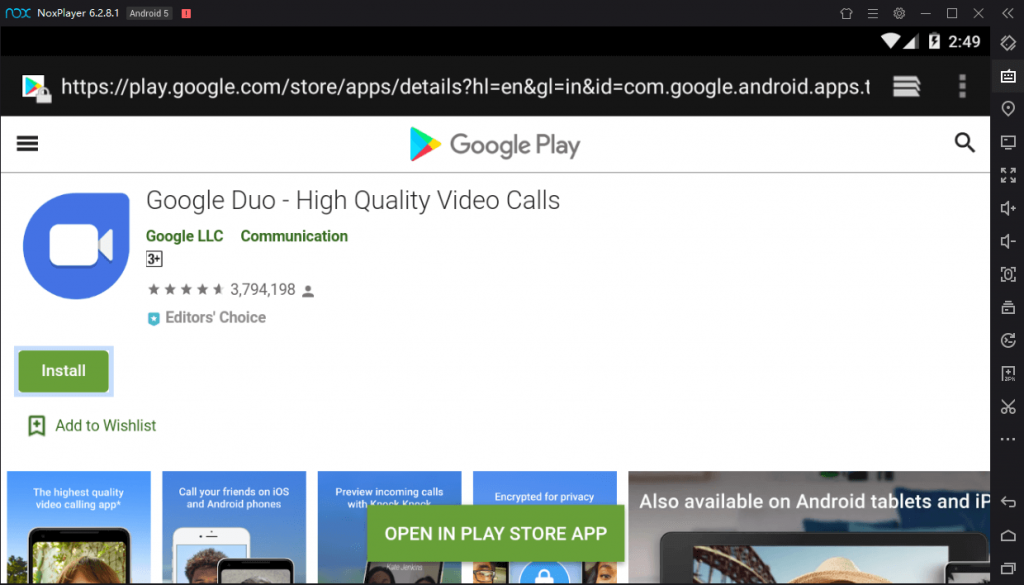
Step 4: Click on any Android app say, Google Duo and you will be taken to the app information screen of Duo app.
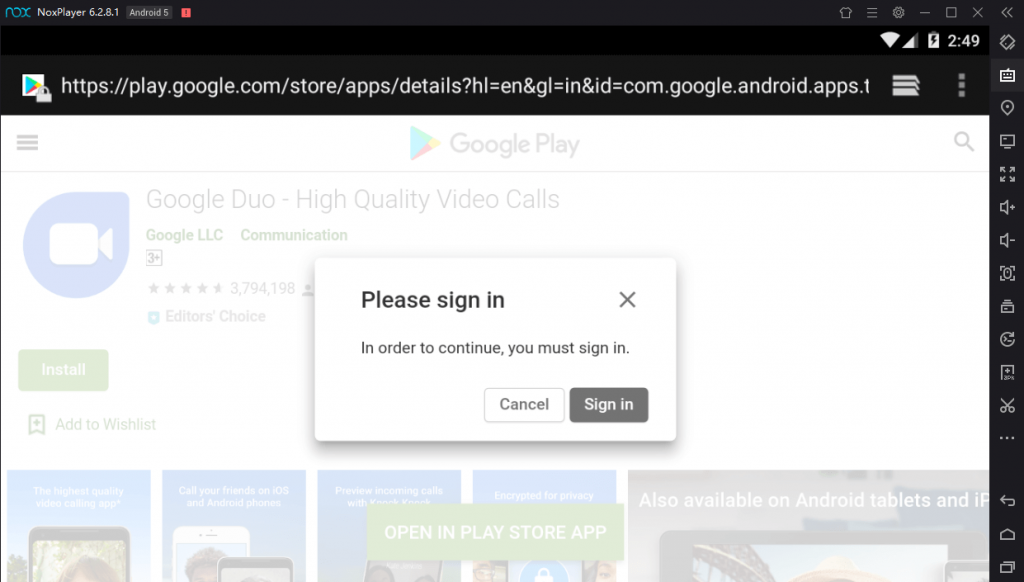
Step 5: You have to click on Install button and you will be prompted to sign in to Nox Player.
Step 6: Click on Sign in button to access Play Store on Nox Player on your PC.
Step 7: On the next screen, you have to enter the email id or phone to log in to the Nox Player. Click on Next button. You can even click on Create account to sign up for an account.
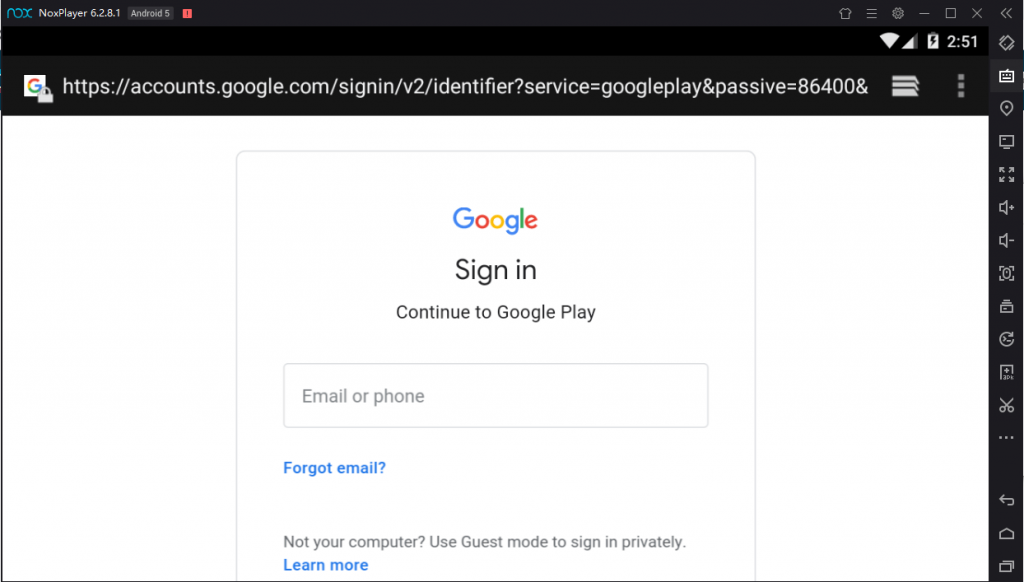
Step 7: Enter the password to complete the login procedure and thereby install any apps like Google Duo on PC using Nox Player.
Step 8: When the installation gets completed, you can thereby use any Android apps on your Windows PC.
Method 2: Steps to Install Apps on Nox Player without Play Store
Nox Player will help you the best-in-class if you are looking for ways to install any third-party Android apps on your PC. It is an Android emulator that will support almost all of the Android apk files and you can just follow the steps given below to start installing any apk on PC using Nox Player.
Click here for Steps to Install Nox App Player for PC Windows/ Mac
Step 1: Go to the browser on your PC, type any apk file name on the address bar and click on the search bar. Say CyberFlix TV Apk.
Step 2: You should then open the official web page of CyberFlix TV from the search result and click on the Download button.
Step 3: Within few seconds CyberFlix TV apk will complete its downloading process. You can simply drag and drop the apk into the Nox Player.
Alternative: You can even right-click on the apk file to choose Open with option and click on Nox Player.
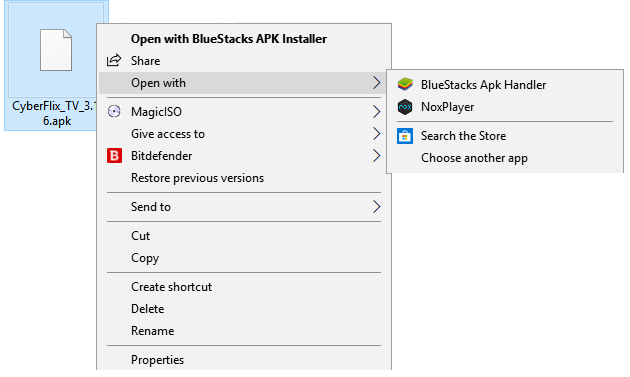
Step 4: Wait for Nox Player to complete parsing the apk file on your desktop. Now click on CyberFlix TV or any other apk to start using it on your PC using Nox Player.
By following the steps on either of the methods, you can easily install any app including third-party app on your PC using Nox Player.
How to Install Android Apps on PC Windows/ Mac Using Andyroid
Installing any Android apps on your PC is simple with the Andyroid app player. Andyroid emulator will let you install the official Android apps as well as the third-party apps. Get into the respective section below to install Android Apps on PC using Andyroid app.
Method 1: Steps to Install Any Apps from Play Store using Andyroid
The steps given below would help you to install any Android apps from the Google Play Store using Andyroid emulator.
Click here for Steps to Install Andyroid for PC Windows/ Mac
Step 1: Open the Andyroid emulator on your Windows/Mac PC once after its downloading process. You will see Android is Starting on the display.
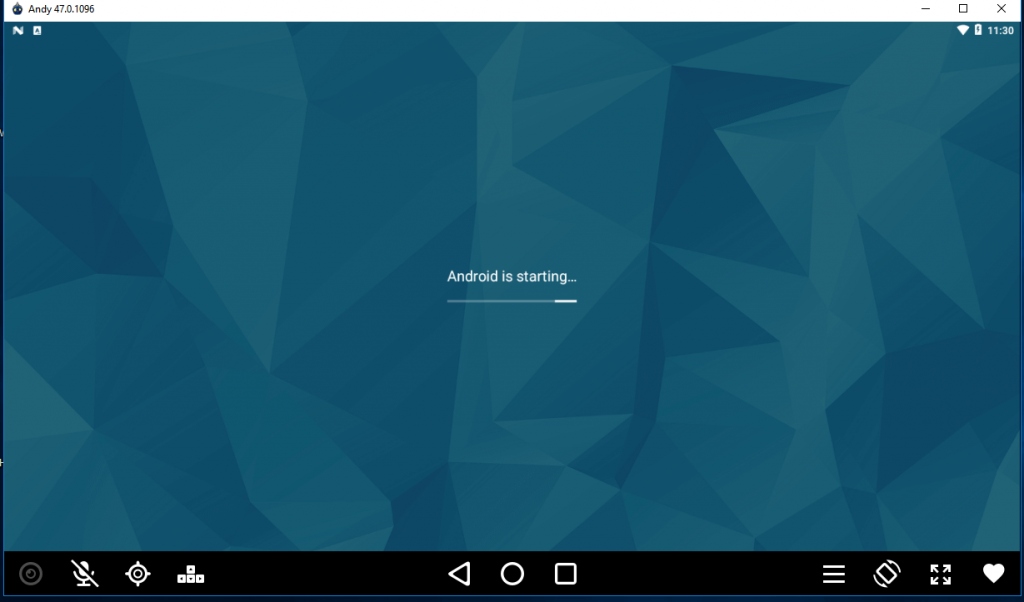
Step 2: Open Play Store to click on Sign in button as to use the salient features of Play Store on your Windows PC using Andyroid emulator.
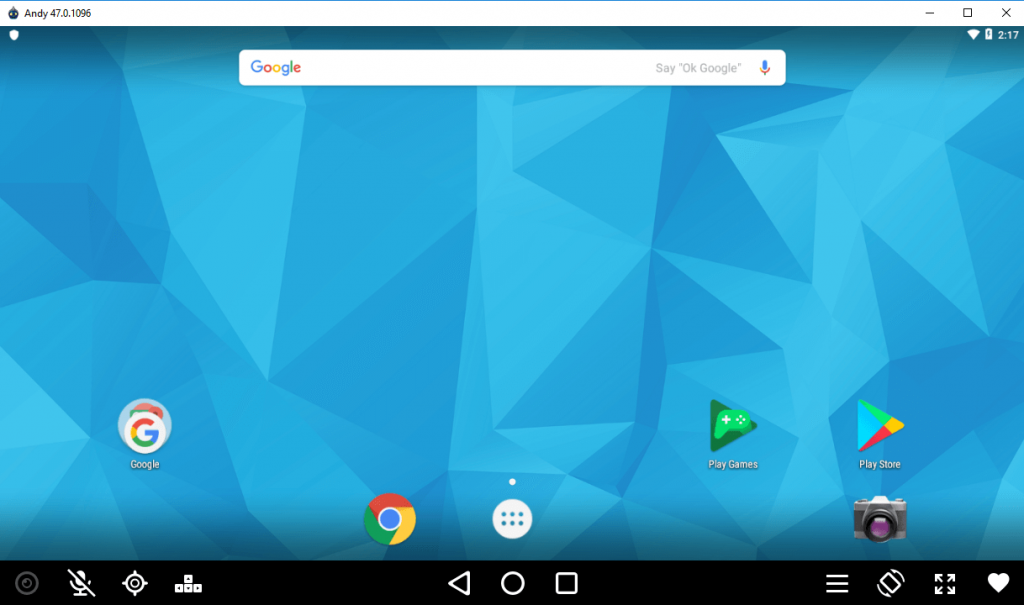
Step 3: You can enter your existing email id or phone number to login Play Store. Click on the Next button. Else click on Create account option to sign up with Google account.
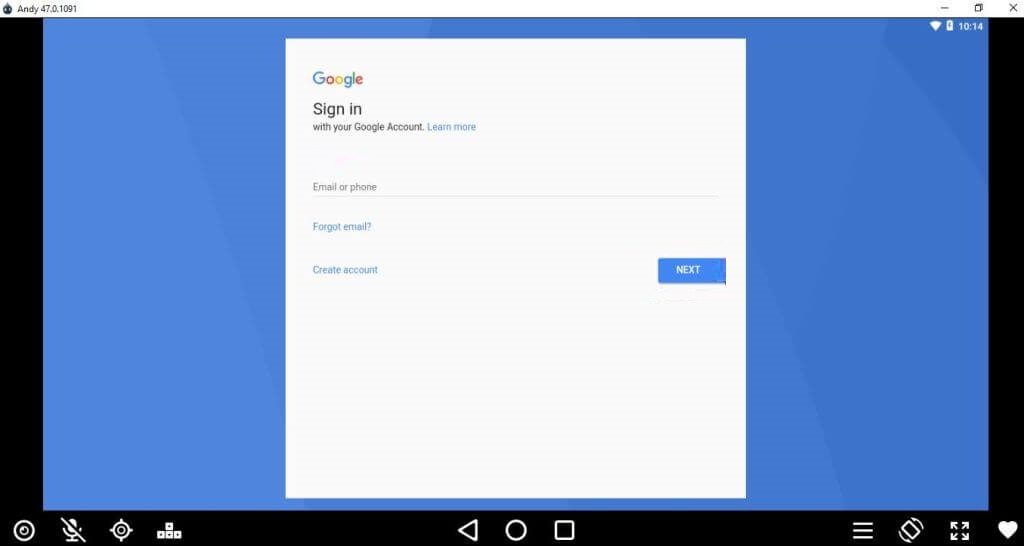
Step 4: Enter the Password and click on Next to login to the Play Store on your Windows PC. Click on Forgot Password option to reset your password.
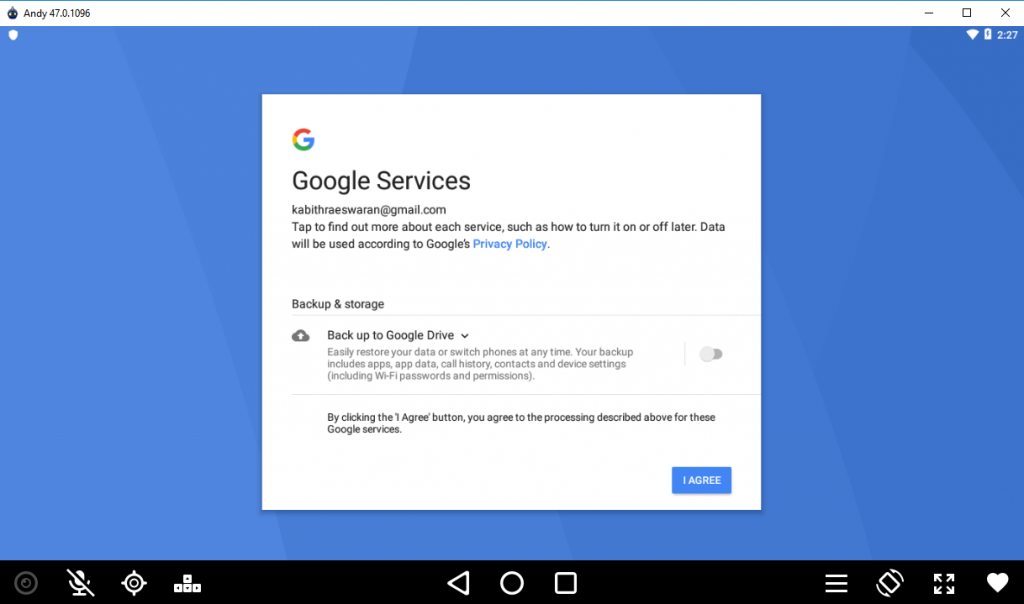
Step 5: Click on I Agree button to accept the terms and conditions of Play Store and use it on Windows PC.
Step 6: Now Play Store will open up on your PC with its home screen showing the list of Android apps and games.
Step 7: Click on the Search tab of the Play Store. Type in the name of any app. Say Viber.
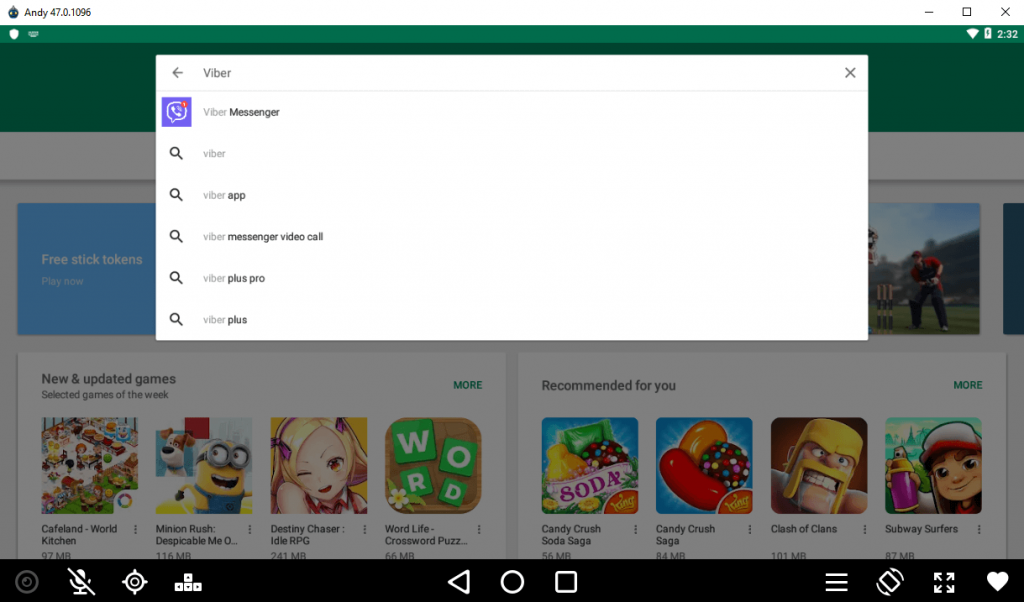
Step 8: A list of related apps will be shown and you have to identify the app (Viber Messenger) and tap on it.
Step 9: You will be re-directed to the app information screen in which you have to click on Install button.
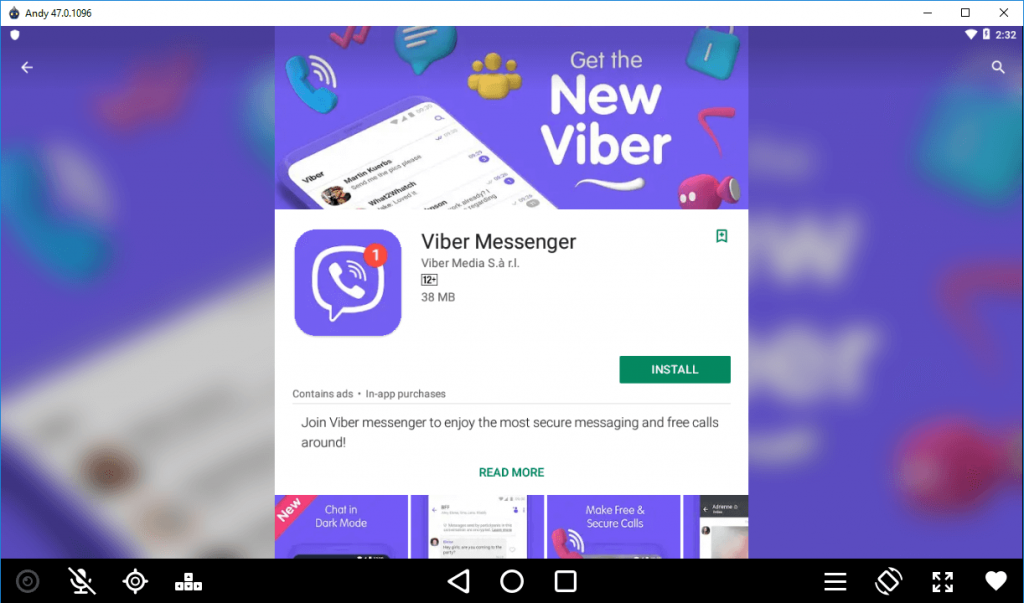
Step 10: Wait for any Android apps like Viber to complete its installation. Click on Open button to start using the app on your Windows PC.
Method 2: Steps to Install Any Apps on Andyroid Without Play Store
If you wanted to use any third-party Android apk on your desktop, then you can opt for the Andyroid emulator. As Andyroid works on both Windows and Mac PC, you can easily install any apk file on it. The following steps will let you install any apps on Andyroid without the Play Store support.
Click here for Steps to Install Andyroid for PC Windows/ Mac
Step 1: On your web browser, click on the address bar to type in the name of any apk. Say Amazon Appstore apk.
Step 2: You have to open the official web site or any trusted third-party website from the search result. Click on Download Amazon Appstore button.
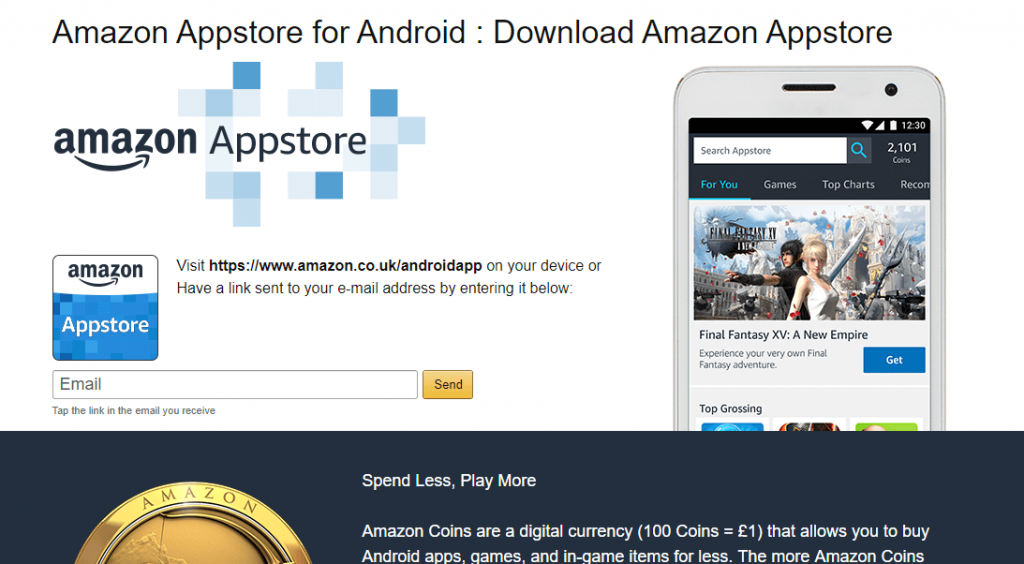
Step 3: With this, the Amazon App Store apk file will start its downloading process. Wait for it to get completed. Locate the Amazon Appstore apk on your PC, right click on Amazon App Store apk to select Open With and tap on AndyApk option.
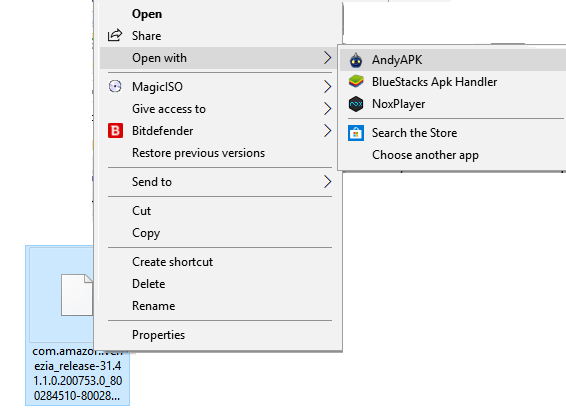
Step 4: Now, Amazon App Store apk will start its installing process on your PC using Andyroid emulator.
Step 5: Just double click on any app (Amazon App Store) on the home screen of Andyroid app to start using it on your PC.
With this, you can install Android apps on PC Windows or Mac by using the Andyroid emulator.
We hope the article about How to Install Any Apps on PC/Mac using different emulators is useful to you. Comment us your favorite emulator or when in case of any queries.

