

Whether you want to talk, chat or collaborate, Skype is an all-in-one tool. Since its launch, it is known for the high-quality video calling feature. With Windows support, communicating with family, friends, and colleagues is made more convenient. Skype for Windows PC is free forever and works with the internet. Registered Skype users can access it from any parts of the world to connect with favourite people.
In addition to video call, Skype users can chat over instant messages. The text chat client will let you chat with a group of people, share emoticons, etc. Skype for Laptop supports mentions with @ symbol followed by the name. So getting back with someone on a group chat is easier.
Those Skype on Windows 7 PC users can just drag and drop the media files to share it as messages. Skype supports sending file-formats like photos, audio, videos, documents, and files with a maximum of 300 MB. The users can chat over voice calls with Skype Windows download. It even supports making calls to landline and mobile at a lower call rate.
How to Download Skype for PC Windows XP/ 7/ 8/ 8.1/ 10 (32 bit / 64 bit)
Skype officially supports the desktop platform. Follow the guidelines given below to download Skype for Windows desktop.
Note: Installing Skype through this method will work only on Windows 10 PC.
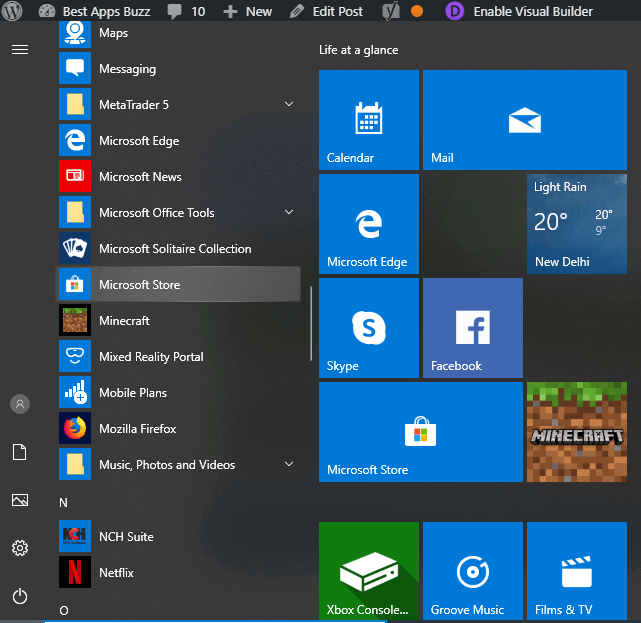
Step 1: On your Windows PC, press the Windows button either on the keyboard or using the mouse.
Step 2: Scroll down to select the Microsoft Store option.
Step 3: Tap on the Search option with the magnifier icon.

Step 4: When the search box appears, type as Skype.
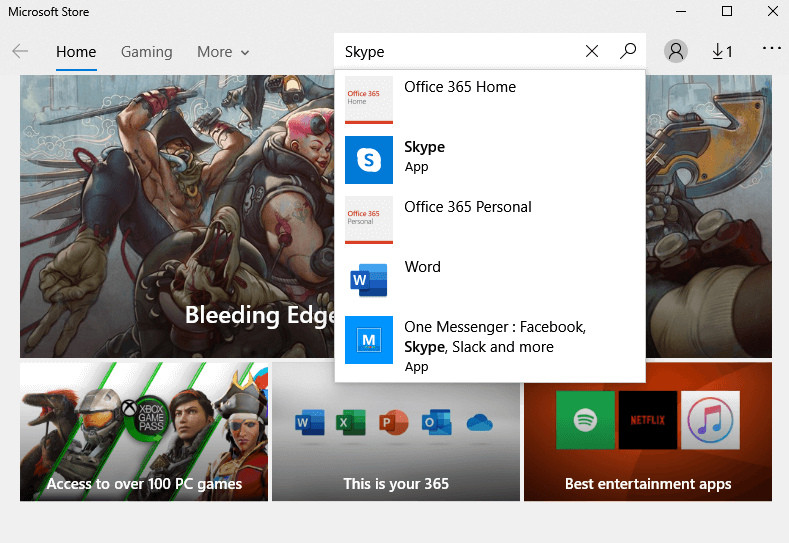
Step 5: Choose Skype from the suggestions list.
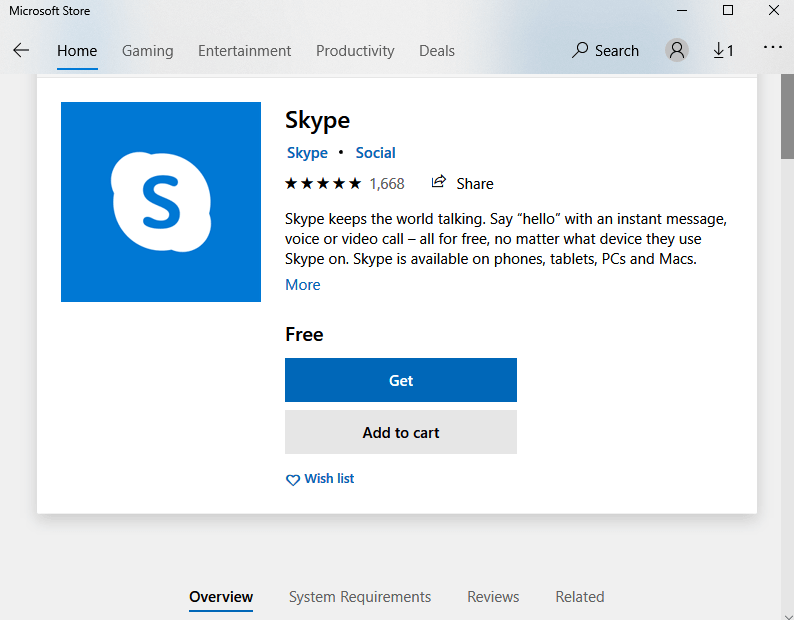
Step 6: To download Skype on Windows 10 PC, click the Get button.
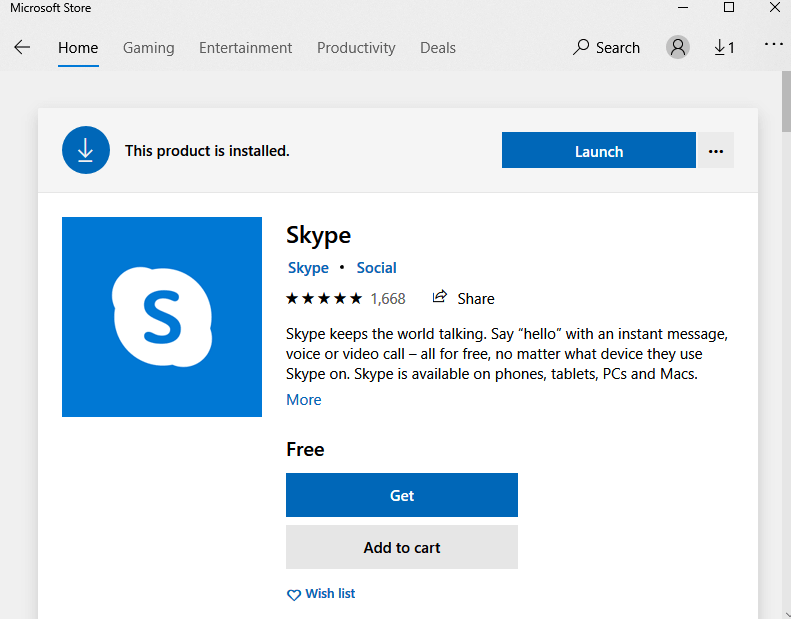
Step 7: Wait until the download to complete. Then, press the Install button to launch the Skype PC App.
Try This!
Skype can be downloaded from its official webpage. We recommend this method only if you aren’t the user of Windows 10.
Step 1: Open the Chrome browser or any other search engine of your choice.
Step 2: Use the address bar to search for the keyword Skype on PC. Press Enter key.
Step 3: Select the official web page of Skype from the search result.
Note: Skip, Step 2 and 3. Just visit https://www.skype.com/en/get-skype/ to open the Skype website.
Step 4: Place the cursor on Get Skype for Windows button to start its download.

Step 5: Now, Skype.exe file will begin its download on your PC. Meanwhile, go to the Downloads folder on Windows and double click the Skype.exe file.
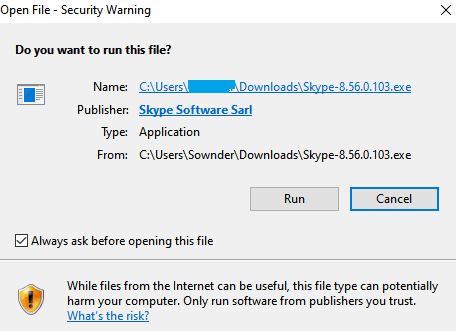
Step 6: On the Security Warning, click the Run button and tap Yes to proceed.
Step 7: On Skype Setup page, select the Install button. The files extraction process will begin. It takes some time based on internet speed.
Step 8: On Skype Welcome Page, click Let’s go button.

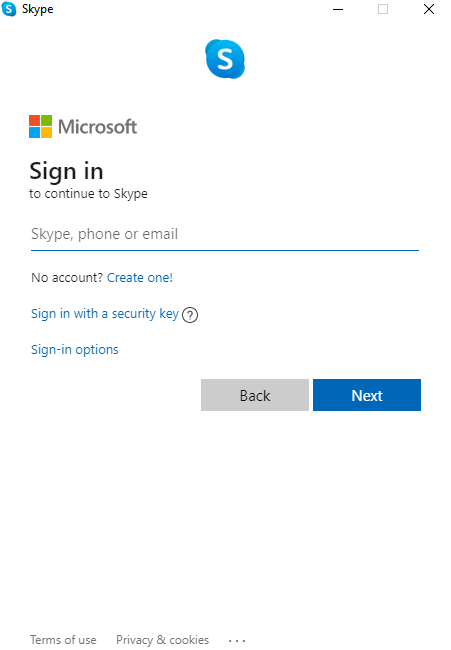
Step 9: Choose Sign in or create button on Skype.

Step 10: Provide your phone or email to login and press the Next button. Else click on Create One to sign up for Skype. Now, you access Skype on Windows XP/7/8.
For more detailed Skype Mobile installation, follow the guide below
Learn How to install Skype Apk on Android
Learn How to install Skype on iOS (iPhone/ iPad)
Skype for PC Alternatives


Skype is also available for
- Skype for PC/Laptop Windows XP, 7, 8/8.1, 10 – 32/64 bit
- How to use Skype on Android TV/Box [Possible Method]
- Skype for iOS – iPhone/iPad Download [New Version]
- Skype for Mac Download Latest Version (2022)
- Skype Web version | How to use Skype Online
- Skype Apk for Android Download [Updated Version]
- How to Install Skype on Linux/Ubuntu [Latest Version]
EndNote
Since Skype uses P2P technology, the users can connect from PC to any other platforms and vice versa.
Hope the article has given necessary details to install Skype on Windows PC. For any queries, reach us through comments.